Wed Apr 1, 2026 | Updated 09:47 PM IST HZ Awards 2026
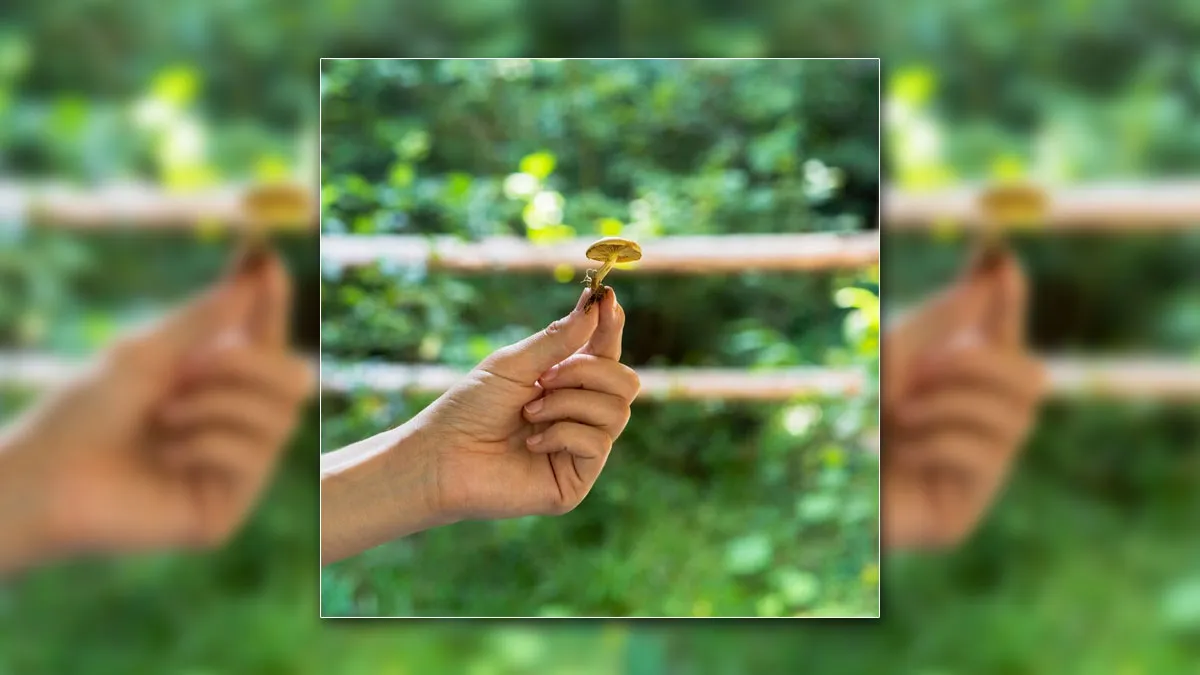
Terrace gardening allows you to make use of unused spaces in your home to cultivate vegetables and herbs. Whether it's a balcony, terrace, or windowsill, sunlight is essential for most plants to thrive. However, mushrooms are an exception, they can be grown indoors without sunlight. Not only are they are easy to grow, but they are also highly nutritious. If you're keen on growing healthy mushrooms at home, here’s an easy guide to help you get started.
We reached out to Swaminathan, a local plant vendor from Dwarka who owns a nursery, to get expert advice on growing mushrooms at home. He provided us with an efficient guide for growing mushrooms indoors. Here’s a comprehensive guide on how to grow mushrooms at home easily.
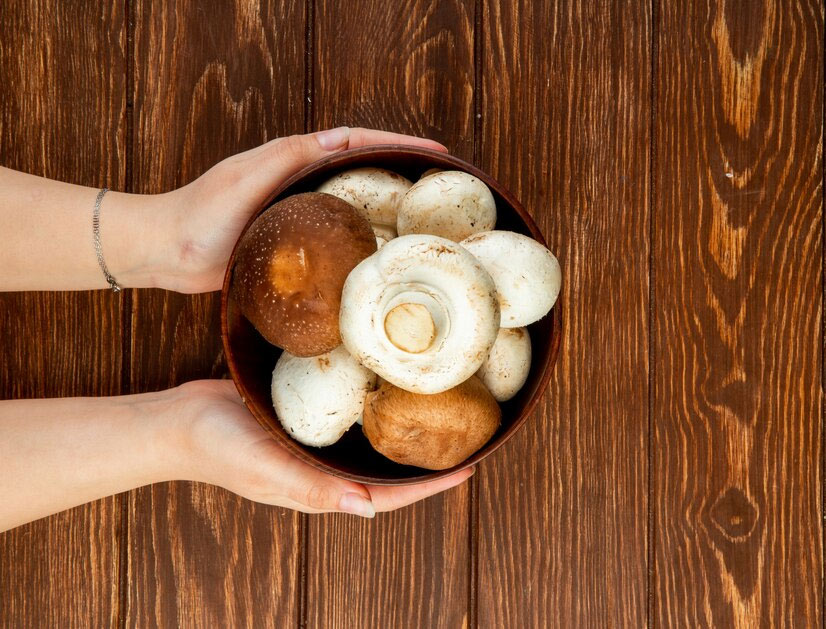
The first step is to decide which variety of mushroom you want to grow. Some of the most popular ones for home cultivation include:
For beginners, Swaminathan recommends starting with oyster mushrooms as they’re more forgiving and grow quickly.
To get started with mushroom cultivation, you’ll need the following:
Swaminathan emphasises the importance of sterilising the growing medium. If you’re using straw, soak it in hot water (about 70°C) for around an hour. This kills off any unwanted fungi or bacteria and creates a healthy environment for the mushrooms.
Once the medium has cooled, drain any excess water and prepare it for the mushroom spawn. The same sterilisation process should be followed if you're using sawdust or other mediums.
Don't Miss: Eating 5 Mushrooms Daily May Help Fight Heart Disease, Cancer, And Dementia, Study Says; Expert Weighs In
After sterilising your growing medium, it’s time to add the mushroom spawn. Break the spawn into smaller pieces and mix it thoroughly with the growing medium. This ensures that the spawn can spread and colonise the entire medium.
Swaminathan advises mixing gently to avoid compacting the medium, as this can hinder the growth of the mushrooms. Ensure the spawn is evenly distributed across the medium.
Mushrooms prefer a dark, humid, and slightly cool environment. You can store the containers in a cupboard, basement, or closet. The ideal temperature should range between 18°C and 22°C. Swaminathan suggests covering the containers with a cloth to keep them dark while still allowing for airflow.
Maintaining a high humidity level (around 80-90%) is crucial. You can either mist the growing medium daily with water or place a shallow tray of water near the containers to increase the humidity in the air.
Over the next 2-3 weeks, the mycelium (the vegetative part of the fungus) will begin to colonise the medium. The substrate will turn white as the mycelium spreads. During this period, it’s important to be patient and avoid disturbing the medium. Keep the temperature and humidity levels stable during this time.

Once the mycelium has completely covered the growing medium (usually after 2-3 weeks), it’s time to induce fruiting. This is where the growing conditions need to be adjusted slightly to encourage mushrooms to sprout.
Don't Miss: Mushroom Soup Recipe: A Must-Try Homemade Dil Se Indian Soup Recipe To Warm Up Yourself In Winters
In about 2-3 weeks after inducing fruiting, small mushrooms will start appearing. These will grow and mature quickly. It’s best to harvest them when their caps have fully opened but remain firm and dry to the touch.
After the initial harvest, the mushrooms may continue to produce for several weeks. Keep misting them regularly and maintaining the proper conditions to help them thrive. With proper care, you can get multiple harvests from a single batch of growing medium.
Swaminathan also suggests experimenting with different growing mediums, spawn types, and environmental conditions to find what works best for your setup. Once you get the hang of it, mushroom cultivation can become a rewarding and sustainable activity.
Keep reading Herzindagi for more such stories.
Credits: FREEPIK
Also watch this video
Herzindagi video
Our aim is to provide accurate, safe and expert verified information through our articles and social media handles. The remedies, advice and tips mentioned here are for general information only. Please consult your expert before trying any kind of health, beauty, life hacks or astrology related tips. For any feedback or complaint, contact us at [email protected].