Wed Apr 1, 2026 | Updated 03:31 PM IST HZ Awards 2026
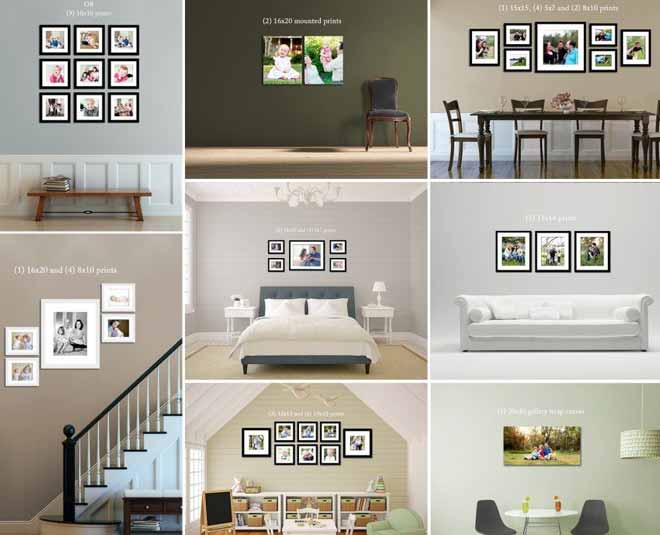
Photo frames not only help you walk down the memory lane, but they also make a statement on your wall or shelves. They are available in different designs and colours. While some are advance metallic piece, others are vintage that never goes out of the fashion. However, we don’t tend to buy frames very often, instead we us the ones that has been gifted by friends or family. It is not important that they suit your style or match with your home décor. But, you can always enhance and change the look of the frames with the help of a few easy tricks. Try these five easy but gorgeous photo frame DIYs to glamourise your home.
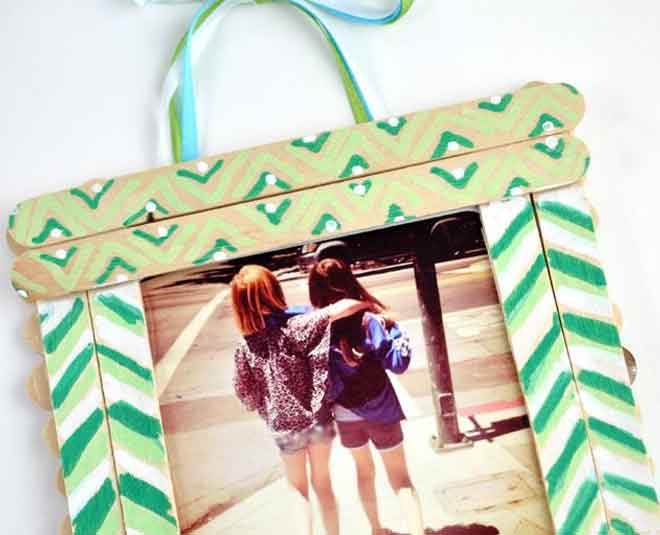
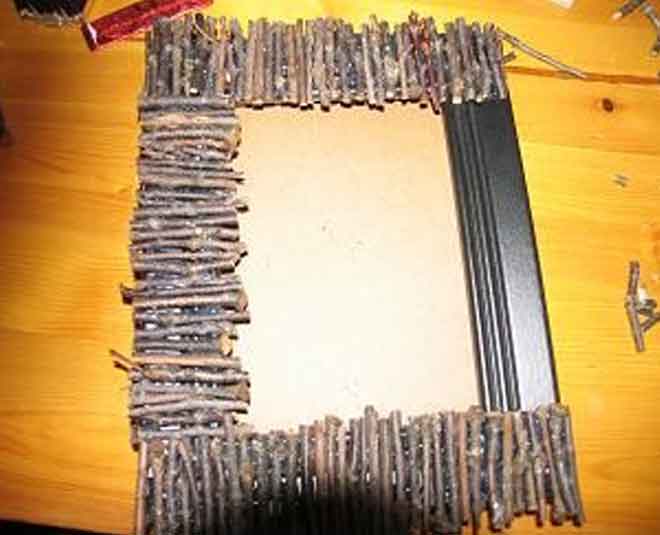
Supplies
Steps
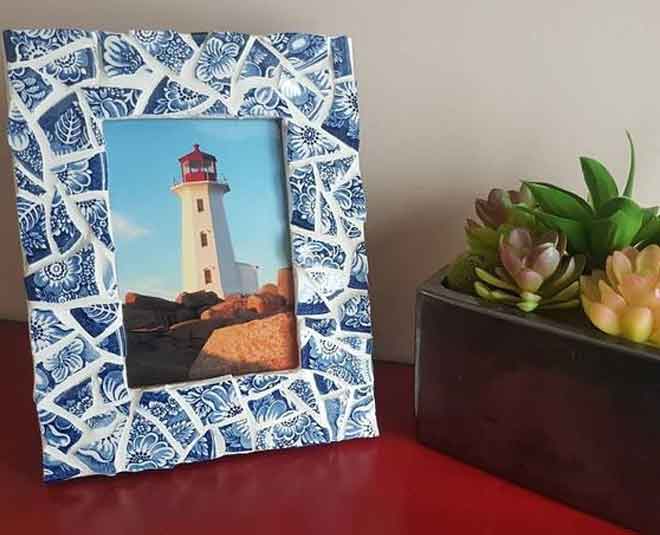
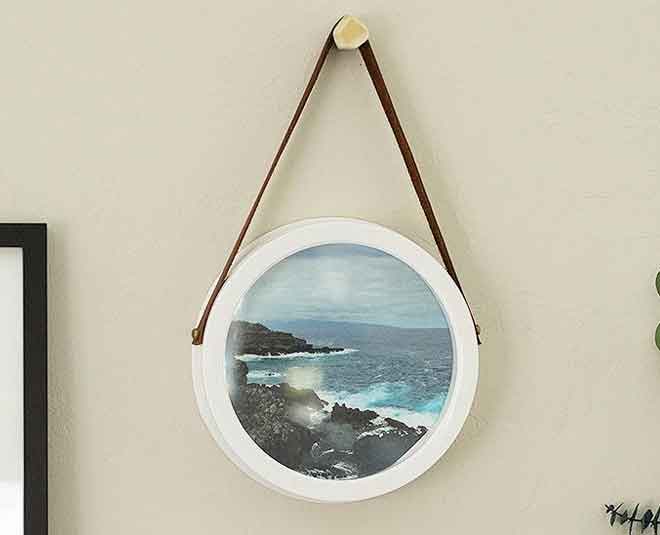
Supplies
Supplies
Steps
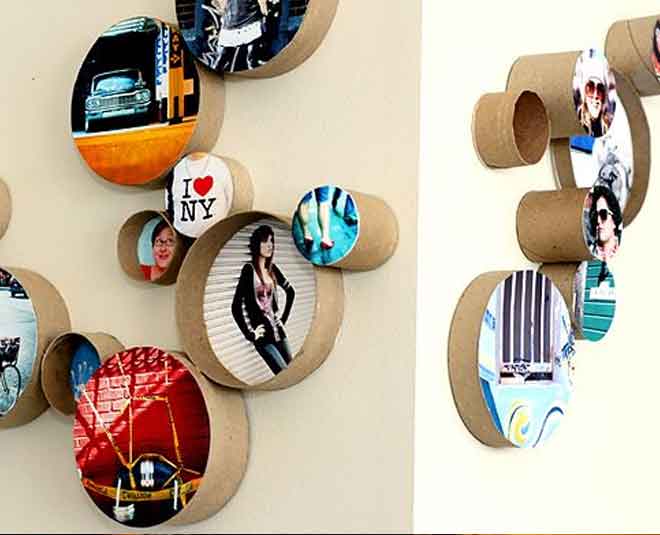
Supplies
Steps
Don't Miss: Expert Suggests Minimalist Ideas To Elevate Your Home Decor
Supplies
Don't Miss: Lockdown Challenge: Glam Up Your Old Household Items With Easy Craft Projects
Steps
Also watch this video
Herzindagi video
Our aim is to provide accurate, safe and expert verified information through our articles and social media handles. The remedies, advice and tips mentioned here are for general information only. Please consult your expert before trying any kind of health, beauty, life hacks or astrology related tips. For any feedback or complaint, contact us at [email protected].