Wed Apr 1, 2026 | Updated 09:57 PM IST HZ Awards 2026
If there's a single plant renowned for its beauty, enhancing the aesthetics of any space, and thriving effortlessly whether placed indoors or outdoors, it is undoubtedly the Money Plant. Recognised for its air-purifying attributes and the ability to infuse positivity into its surroundings, the Money Plant is an ideal choice for those embracing a newfound love for houseplants. Below, we unveil a comprehensive guide detailing the process of cultivating a money plant in a bottle at home.
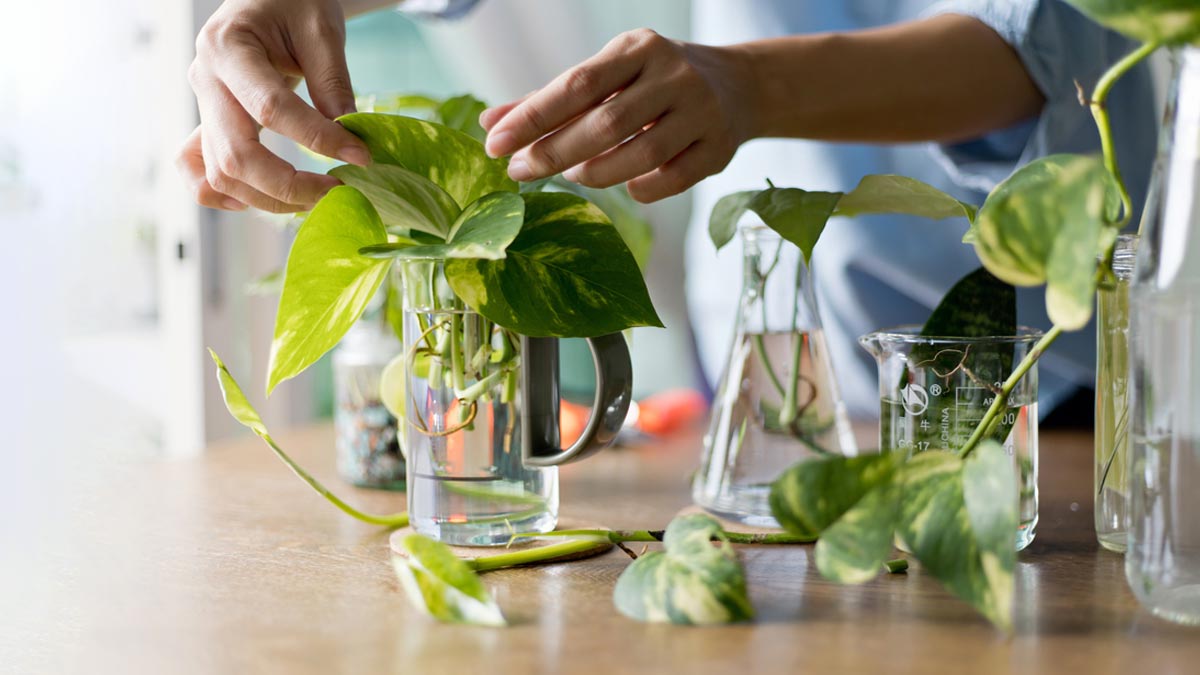
Establishing an indoor money plant within a clear plastic or upcycled glass bottle provides a wonderful year-round opportunity. To commence this endeavour, you'll require a handful of essential materials, and we've detailed them for you below.
Choose a robust cutting of the money plant that includes at least one leaf and a node (the point where the leaf connects to the stem).
Don't Miss: How To Grow Coriander In A Water Bottle: A Step-By-Step Guide
Opt for a clear plastic or glass water bottle and ensure it is meticulously cleaned by removing any labels or residue.

Fill the bottle with clean and filtered water, making sure there is sufficient water to fully submerge the node of the money plant cutting.
Insert the cutting into the water, ensuring the node is entirely submerged while the leaf remains above the water surface.
Place the water bottle in a well-lit area with indirect sunlight, avoiding direct sunlight exposure to prevent excessive heat.
Change the water in the bottle every 7-10 days to prevent algae growth and maintain cleanliness.
Over time, observe the growth of roots emerging from the node into the water, indicating the money plant is establishing roots.
Don't Miss: What Is Orange Peel Theory? Indians Hop Onto The Viral Trend; Checkout The Best Memes
If the roots grow to a few inches in length, you have the option to transplant the money plant into the soil. Use a well-draining potting mix for this purpose.

Keep an eye on water levels, ensuring that the roots are in water for optimal growth. Prune the plant as necessary to preserve its desired shape.
Cultivating a money plant in a water bottle is a straightforward and fulfilling process. With proper care, you can enjoy the presence of a thriving and visually pleasing indoor plant.
Money plants exhibit remarkable adaptability, thriving in diverse environmental conditions. Their ability to acclimate to different levels of light makes them well-suited for cultivation in indoor areas that may have restricted sunlight.
Keep reading Herzindagi for more such updates.
Also watch this video
Herzindagi video
Our aim is to provide accurate, safe and expert verified information through our articles and social media handles. The remedies, advice and tips mentioned here are for general information only. Please consult your expert before trying any kind of health, beauty, life hacks or astrology related tips. For any feedback or complaint, contact us at [email protected].