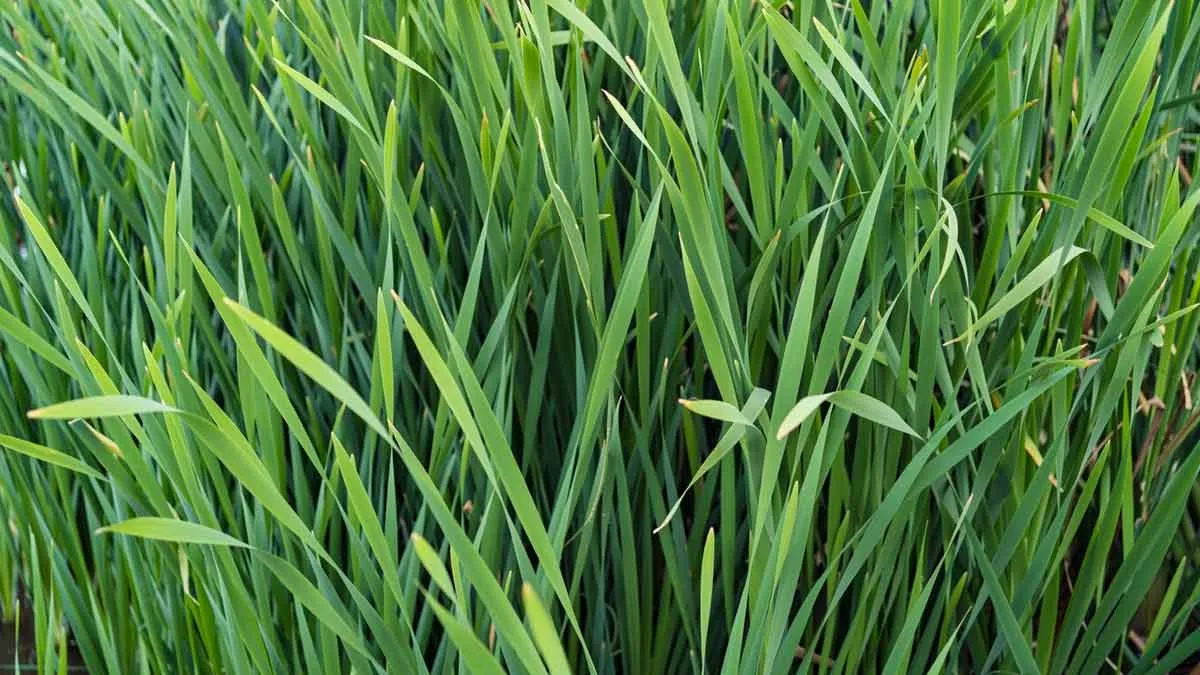
When it comes to citrus-flavoured herbs, lemongrass stands out as a top choice. This versatile herb delivers a bold lemony taste, making it a fantastic addition to stir-fries, savory dishes, desserts, and aromatic sauces. A key ingredient in Asian cuisine, it also brews into a refreshing and flavorful tea. If you're eager to cultivate your own lemongrass, we’ve put together a step-by-step guide on how to grow it at home using a bottle.
Supplies Needed For Growing Lemongrass At Home In A Bottle
To grow lemongrass at home in a bottle, you’ll need the following supplies:
Supplies Needed:
- Lemongrass Stalks – Fresh stalks with the bulb intact (can be purchased from a grocery store or nursery).
- A Transparent Bottle – A plastic or glass bottle with the top cut off or a wide-mouth jar for better root growth.
- Water – Clean, room-temperature water for rooting the stalks.
- Scissors or Pruners – To trim any excess leaves or cut the bottle if needed.
- Hydroponic Nutrients (Optional) – If growing long-term in water, nutrients will help the plant thrive.
- Soil (Optional) – If you want to transfer it to soil after rooting, use well-draining potting mix.
- A Sunny Spot – Lemongrass thrives in bright sunlight, so place the bottle near a sunny window or balcony.
![how to grow lemongrass at home]()
Don't Miss: How To Grow A Cashew Tree From Seed At Home: A Step-by-Step Guide
How To Grow Lemongrass At Home In A Bottle
We got in touch with Swaminathan, a local gardener from Dwarka, who shared a detailed guideline on how to grow lemongrass at home in a bottle. Here’s how you can do it step by step:
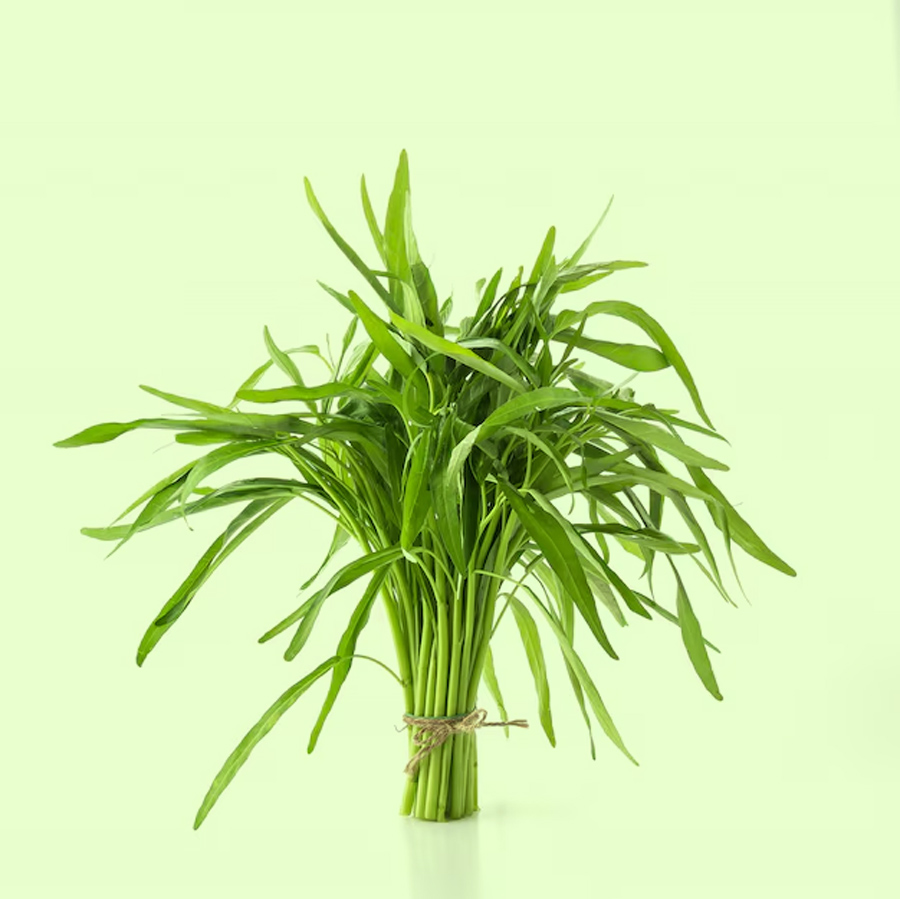
Step 1: Choose Fresh Lemongrass Stalks
- Pick healthy, fresh lemongrass stalks from a grocery store or nursery.
- Ensure the stalks have a firm base (bulb) and are not dried out or damaged.
- The thicker the stalk, the better the chances of successful growth.
Step 2: Prepare the Bottle
- Select a transparent plastic or glass bottle with a wide mouth for easy access.
- If using a regular bottle with a narrow neck, cut off the top to create more space.
- Clean the bottle thoroughly to remove any dirt or chemicals.
Step 3: Submerge in Water
- Fill the bottle with fresh, room-temperature water, ensuring the bulb of the lemongrass stalk is submerged while keeping the leaves above the water level.
- You can place multiple stalks in one bottle but avoid overcrowding.
Step 4: Place the Bottle in Sunlight
- Keep the bottle in a well-lit area that receives at least 6–8 hours of sunlight daily.
- A windowsill, balcony, or outdoor spot with indirect sunlight works best.
- If growing indoors, you can use grow lights for additional support.
Step 5: Change Water Regularly
- Refresh the water every 2–3 days to prevent algae growth and bacterial buildup.
- If the water appears cloudy, change it immediately.
- Use filtered or dechlorinated water for the best results.
![how to grow lemongrass at home in bottle]()
Step 6: Wait for Root Growth
- Within 1–2 weeks, small roots will start sprouting from the bulb.
- Let the roots grow at least 2–3 inches long before deciding to transfer the plant.
- If leaves start turning yellow, trim the affected parts to encourage new growth.
Step 7: Transfer to Soil (Optional)
- Once roots are well-developed (after 3–4 weeks), you can transfer the stalks into a pot or garden soil.
- Use well-draining, nutrient-rich soil to support healthy growth.
- If you wish to keep growing in water, continue refreshing it and provide enough sunlight.
Don't Miss: Want Fresh Rosemary At Home? Here’s How To Grow It In Water
Step 8: Harvest & Enjoy
- When the stalks reach a good height (around 12 inches), start harvesting by cutting the outer stalks from the base.
- Always leave a few stalks in place to allow continuous growth.
- Use fresh lemongrass for tea, curries, soups, and more!
By following these simple steps, you can successfully grow fresh lemongrass at home in a bottle, ensuring a constant supply of this aromatic herb for your kitchen
Keep reading Herzindagi for more such stories.
Credits: Free