Thu Apr 2, 2026 | Updated 12:49 AM IST HZ Awards 2026
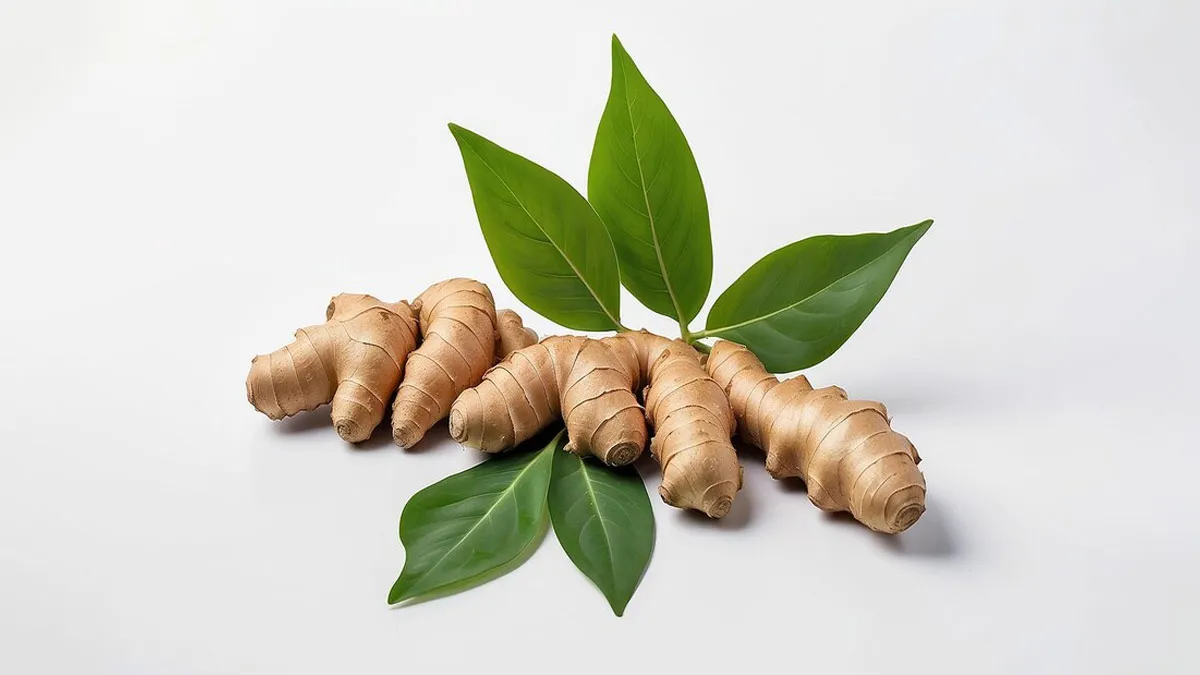
Ginger, a root vegetable with a vibrant, spicy flavour, is a staple in most Indian households. It's widely used in various dishes, such as curries, stir-fries, salads, and smoothies. Known for its strong anti-cancer and anti-inflammatory benefits, ginger is also an excellent digestive aid, making it an ideal choice for home gardening. Growing ginger is a simple process and can be easily done using a bottle with just a few basic materials. Below, we've provided a step-by-step guide to help you grow your ginger plant at home in a bottle.
Growing a ginger plant in your garden using a clear plastic or recycled glass bottle is an ecellent option for year-round cultivation. To get started with this planting guide, you will need a few basic supplies, which we've listed below:
These basic materials will ensure a smooth process for growing ginger in a bottle at home.
Growing ginger in a bottle is an easy and fulfilling way to enjoy fresh ginger at home. Swaminathan, a local gardener from a plant nursery in Dwarka, told us these simple instructions to start your own ginger plant:
Don't Miss: How To Grow Jacaranda Bonsai Tree: A Step-by-Step Guide For Beginners
Don't Miss: How To Take Care Of A Snake Plant: The Ultimate Guide For Beginners
By following these steps, you can easily grow and enjoy fresh ginger from the comfort of your home!
Keep reading Herzindagi for more such stories.
Credits: Freepik
Also watch this video
Herzindagi video
Our aim is to provide accurate, safe and expert verified information through our articles and social media handles. The remedies, advice and tips mentioned here are for general information only. Please consult your expert before trying any kind of health, beauty, life hacks or astrology related tips. For any feedback or complaint, contact us at [email protected].