Wed Apr 1, 2026 | Updated 05:01 PM IST HZ Awards 2026
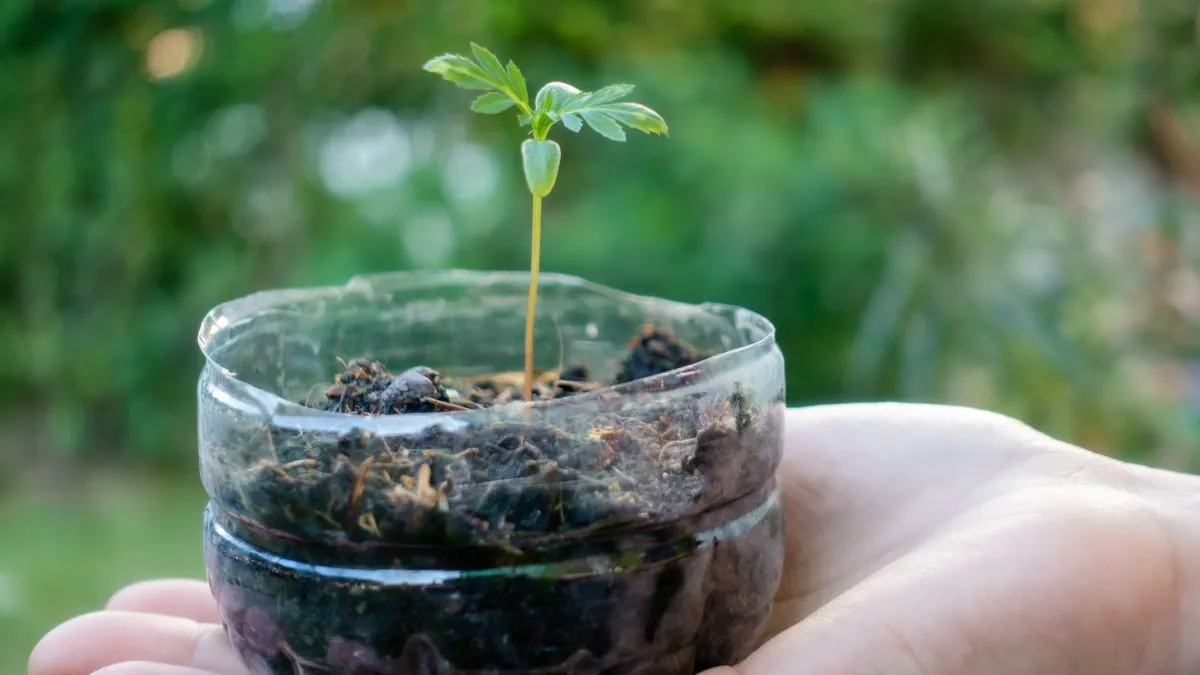
A lush, vibrant garden, teeming with life and colour, yet small enough to sit on your desk or windowsill? We’ve got you covered! Welcome to the enchanting world of bottle gardens! Add a touch of greenery into your home or office while enjoying the numerous benefits of indoor gardening, from air purification to stress reduction, by building a self-sustaining bottle garden. So, are you ready to get started on your own bottle garden adventure? In this article, we'll take you through seven simple steps to build your very own miniature oasis.
The first step to creating your bottle garden is choosing the right bottle. You can go for any clear glass bottle with a wide mouth, maybe a jar or a vase. You should avoid bottles with narrow necks, as they can make it difficult to plant and maintain your garden.
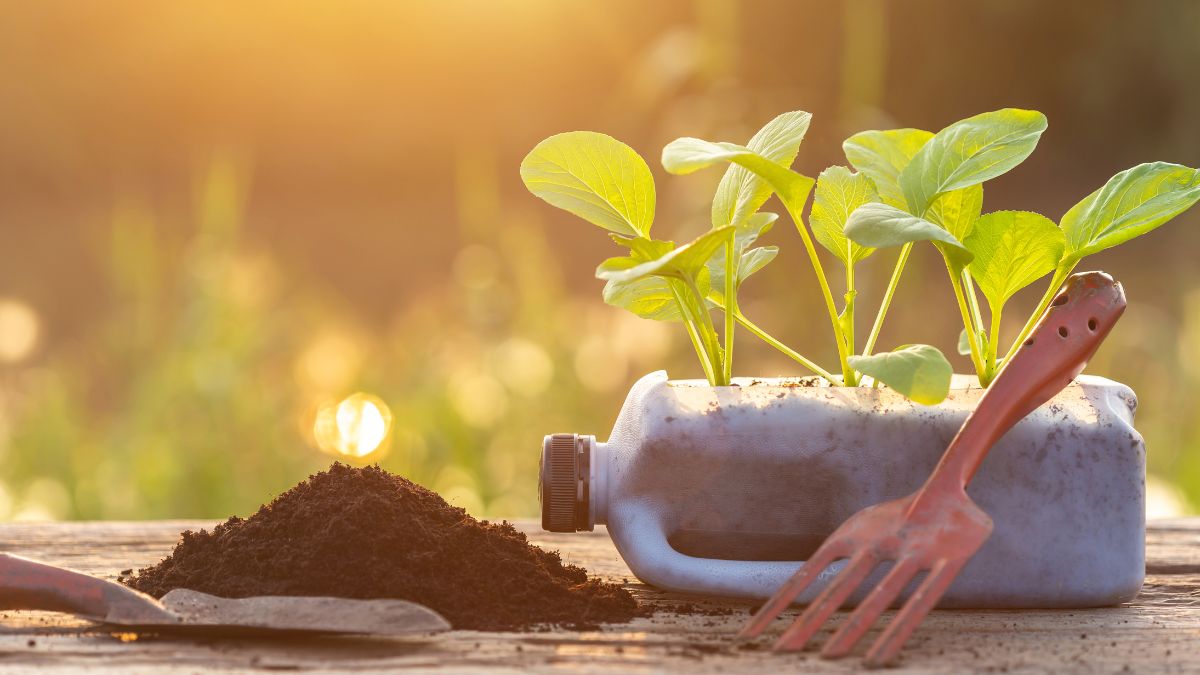
As you select the plants for your bottle garden, remember that choosing species that thrive in low-light conditions and require minimal maintenance can be helpful in future. Some popular options include succulents, mosses, and ferns. One thing you have to make sure is to choose plants that are small enough to fit inside the bottle.
After you have selected your plants, you can add a layer of small rocks to the bottom of the bottle. This will help with drainage and prevent the soil from washing away.
Adding a layer of activated charcoal to the bottle is just another aid to help absorb excess moisture and prevent the growth of mould and mildew.
Don't Miss: Winter Gardening: 6 Easy Tips To Take Care of Your Tomato Plants
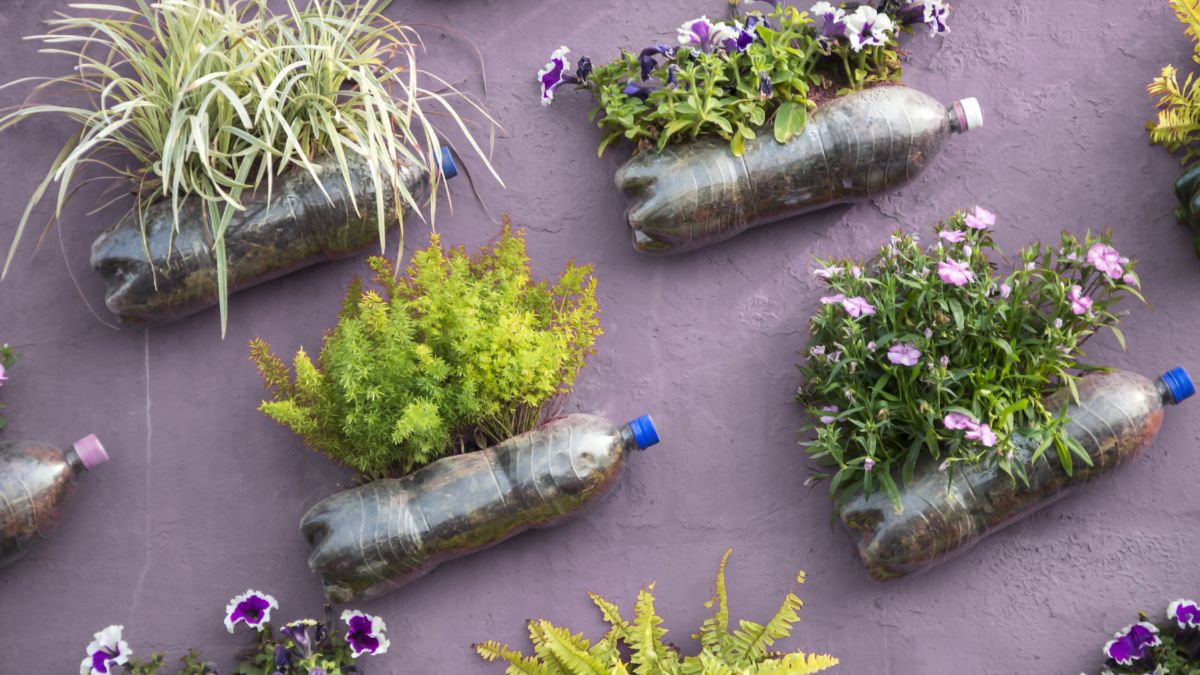
Once you have added the charcoal layer, add the soil and plants to the bottle. Use a well-draining potting soil and gently plant the selected species. Make sure to leave enough space between each plant for proper growth.
If you want to spruce up the place, you can also add decorative elements such as small stones, shells, or moss to the bottle once the plants are in place. This will help create a visually appealing and unique miniature garden.
Finally, seal the bottle and place it in indirect light. Avoid direct sunlight, as it can cause the temperature inside the bottle to fluctuate and potentially harm the plants.
Don't Miss: 5 Ways To Take Care Of Your Jasmine Plant
If you liked this story, then please share it. To read more such stories, stay connected to HerZindagi.
Also watch this video
Herzindagi video
Our aim is to provide accurate, safe and expert verified information through our articles and social media handles. The remedies, advice and tips mentioned here are for general information only. Please consult your expert before trying any kind of health, beauty, life hacks or astrology related tips. For any feedback or complaint, contact us at [email protected].