Wed Apr 1, 2026 | Updated 09:38 PM IST HZ Awards 2026
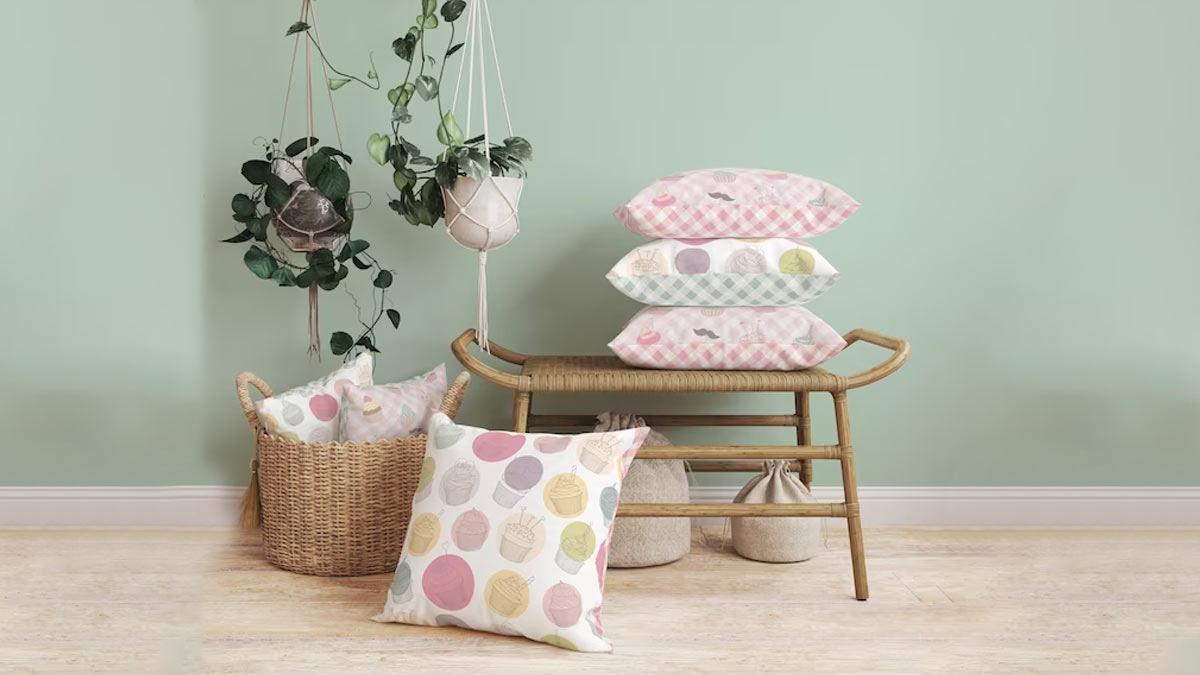
Each of us likely possesses a collection of unused garments that linger in our closets. Instead of allowing them to gather dust indefinitely, why not transform them into charming cushions? This offers an excellent opportunity to repurpose your clothing rather than discarding it, and it also allows for artistic exploration with diverse fabric choices.
Search through your wardrobe and locate garments you've ceased wearing but that possess appealing colours or patterns suitable for a pillow. Opt for clothing in decent condition, as you'll be reusing the fabric. Ideal choices for this transformation are items like denim jackets, flannel shirts, and long skirts or dresses with ample fabric. (fabric for summer) Prioritise clothing with intriguing designs or patterns, such as floral motifs or plaid, as these can add a dash of flair to your pillow's aesthetics.

Utilise a ruler or tape measure to determine the size and shape required for your pillow. Cut out squares or rectangles from the fabric to create a straightforward pillow. Ensure that you add an extra inch to your intended pillow size to account for seam allowance. To guide your cutting, use chalk to trace along this measurement.
Don't Miss: Into The Bloom: How To Grow Amaranth At Home
Position the fabric pieces on top of each other in a way that, when you sew them together, the pillowcase (wash pillow by hands) will be turned inside out. Secure the fabric's shape by placing pins along the edges of the fabric. Sew the three sides of the pillowcase where you've placed pins, ensuring that the seam is approximately 1/4 to 1/2 inch away from the cut edge of the fabric. If you prefer a neater finish, you can also employ a slip-stitch method to conceal the stitching on the pillow.

Utilise the opening that you've left in the pillowcase to insert the stuffing material of your choice. Adjust the amount of stuffing according to your preference. To ensure even and uniform stuffing:
Once you're satisfied with the pillow's appearance and level of stuffing, hand stitch the opening that was used for stuffing. Alternatively, if you want to retain the ability to open the pillow, sew a zipper into the opening to close it securely.
Don't Miss: DIY: How To Clean Marble Floors To Make Them Shiny
Also watch this video
Herzindagi video
Our aim is to provide accurate, safe and expert verified information through our articles and social media handles. The remedies, advice and tips mentioned here are for general information only. Please consult your expert before trying any kind of health, beauty, life hacks or astrology related tips. For any feedback or complaint, contact us at [email protected].