herzindagi
how to make a dreamcatcher at home

How To Make Yourself A DIY Dream Catcher With House Supplies

Learn how to make a dream catcher with these simple tricks!
Editorial
Updated:- 2021-11-19, 13:00 IST

Dreamcatchers originated with the Native Americans, became popular with the hippies of the 1960s and 1970s, and are now loved by just about everyone everywhere.

Have you heard the story behind the dreamcatchers?

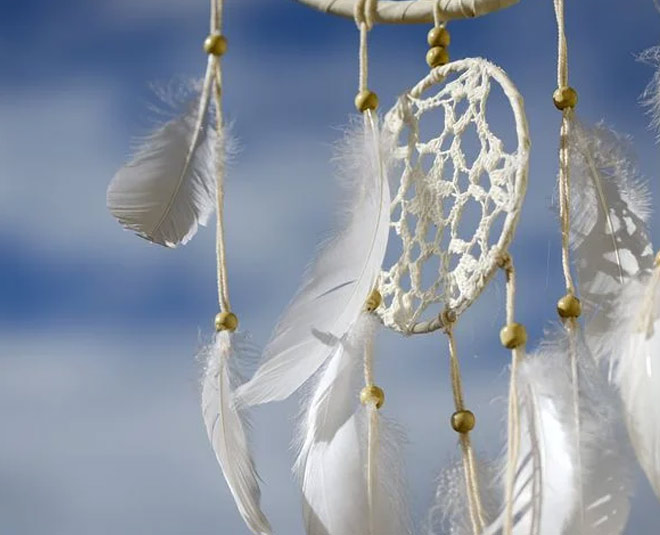
According to Ojibwe legend, there was a spider woman known as Asibikaashi, who took care of all the children on the land. But as the Ojibwe nation expanded, Asibikaashi wasn’t able to reach all of the children every night. So the mothers and grandmothers crafted dream catchers for the children, using willow hoops, natural twine, and feathers. They would then hang the dreamcatchers above the beds of babies and children. These dreamcatchers were thought to filter out the bad dreams, only allowing the good dreams to pass through and reach the minds of the children. When the sun rises in the morning, the bad dreams disappear.

Read More-How To Make Quirky Earrings At Home

Things You’ll Need-

Inside      T.

  • Wooden embroidery hoop
  • Washi tape
  • Yarn
  • Felt (small piece)
  • Polyester batting (a very small amount)
  • Needle and thread
  • Beads (we used pony beads and wooden beads)
  • Pom-pom maker (optional)
  • Paper pinwheels made from sulphite paper
  • Watercolors
  • Piece of wire for hanging (silver or colored)

Read More- DIY Chalkboard Wall For Kids At Home

Step By Step Guide-

Inside  ()

  • Start by covering the hoop with little pieces of washi tape.
  • You can either tear the tape or use small scissors. Anything works!
  • Choose two colored yarns and wrap them around the hoop.
  • Once you get the hang of it, it only takes a few minutes for you to wrap both yarns tightly.
  • Next comes the sewing part.
  • Draw a heart on paper first then use it as a template. The hearts should be about 3.5″ wide.
  • When threading the needle, double the string and then tie a knot at the end.
  • This way, the thread will never fall out of the needle.
  • Leave a little opening to put in the stuffing.
  • Now work with the paper pinwheels and watercolors as per your creativity.
  • The last step is the most fun – putting it all together!
  • Cut four pieces of string; one for each pom-pom, one for the pinwheel, and one for the heart.
  • Then tie them onto their hoop at varying lengths.

Make one and share a story with us on our official Instagram account. Stay tuned to HerZindagi for more!

Also watch this video

Herzindagi video

Disclaimer

Our aim is to provide accurate, safe and expert verified information through our articles and social media handles. The remedies, advice and tips mentioned here are for general information only. Please consult your expert before trying any kind of health, beauty, life hacks or astrology related tips. For any feedback or complaint, contact us at [email protected].