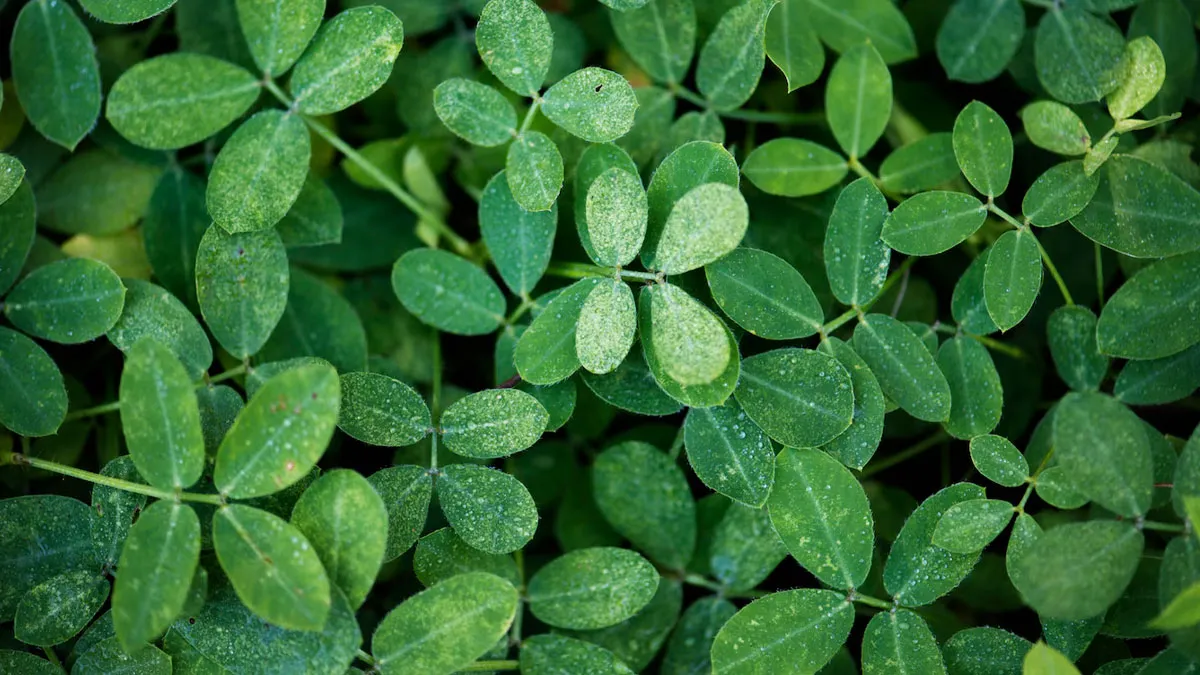
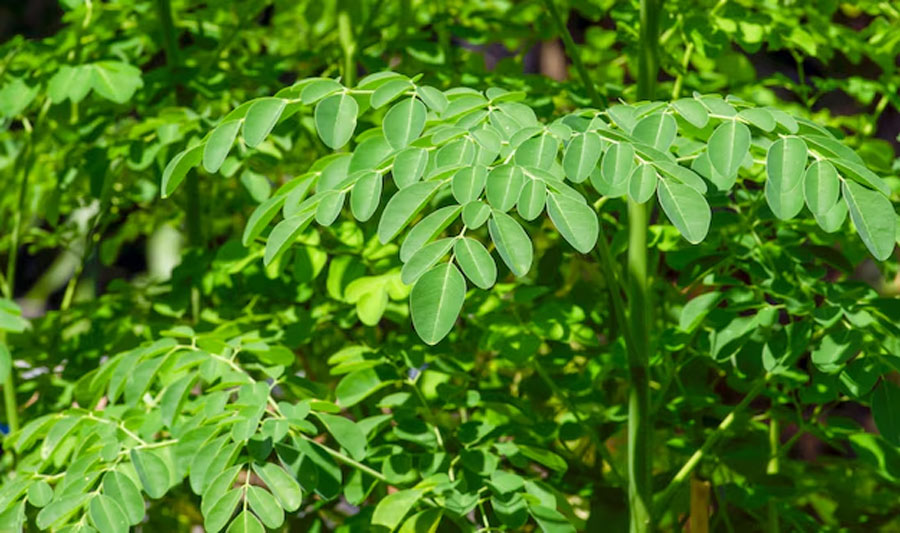
The Moringa tree, commonly known as the Drumstick tree, is a native Indian plant with remarkable benefits. Unlike most large trees, it falls into the rare category of perennial vegetables, making it unique. What makes Moringa truly special is that every part of the tree is edible and useful. Because of its numerous health benefits and versatile uses, it is often referred to as "The Miracle Tree" in the modern world.
If you’re looking to grow this incredible tree in your home garden, we’ve put together a simple step-by-step guide to help you successfully grow Moringa from cuttings.
Supplies Needed To Grow A Moringa Tree From Cuttings
To successfully grow a Moringa tree from cuttings, you’ll need the following materials:
Required Materials:
- Fresh Moringa Cutting – Ideally, the branch should be 1-2 feet long and 1-2 inches thick.
- Sharp Pruning Shears or Knife – For cutting and trimming branches.
- Planting Pot or Grow Bag – If you plan to grow it in a container.
- Well-Draining Soil – A sandy or loamy soil mix is best for healthy growth.
- Compost or Natural Fertiliser – To provide essential nutrients.
- Watering Can or Sprayer – To keep the soil moist but not soggy.
- Mulch – Helps in retaining moisture and controlling weed growth.
- Rooting Hormone (Optional) – Encourages quicker root formation.
- Support Stick or Stake – Keeps the young sapling stable as it grows.
- A Sunny Spot – Moringa thrives in direct sunlight, so choose a bright location.

How To Grow A Moringa Tree From Cuttings
Growing a Moringa tree from cuttings is a simple and efficient way to grow this nutrient-rich plant at home. Follow these steps to ensure successful growth.
1. Choosing a Healthy Cutting
- Select a strong, mature branch from an existing Moringa tree, ideally 1-2 inches thick and 12-24 inches long.
- Ensure the cutting is fresh and free from disease for optimal growth.
2. Preparing the Cutting for Planting
- Remove any leaves or smaller twigs from the branch.
- Let the cut end dry for a few hours to reduce the risk of rotting.
- (Optional) Apply a rooting hormone to the base to accelerate root development.
3. Selecting Soil & Planting Location
- Use light, well-draining soil like sandy or loamy mix to prevent excess moisture buildup.
- Choose a sunny area since Moringa requires full sunlight to thrive.
4. Planting the Cutting
- Dig a hole around 1-2 feet deep in the soil.
- Place the cutting in the hole, ensuring at least one-third of its length is buried.
- Pack the soil around the base firmly for stability.
- If planting in a container, choose a large pot with proper drainage holes.
5. Watering & Ongoing Care
- Water the cutting gently but consistently, keeping the soil moist but not oversaturated.
- Avoid excessive watering, as Moringa is naturally drought-resistant.
- Enrich the soil with organic compost or fertiliser every few weeks to support healthy growth.

6. Supporting the Cutting
- Use a stake or wooden stick to help the cutting remain upright.
- Tie it loosely to prevent it from toppling over in strong winds.
7. Monitoring Growth & Maintenance
- Within 2-3 weeks, you should notice new leaves sprouting if conditions are favourable.
- Regular pruning encourages bushy and healthy growth.
- Keep an eye out for pests and use organic solutions if needed.
Moringa trees grow rapidly, reaching heights of 10-12 feet in a year. Once grown, they require minimal upkeep, making them a fantastic addition to any garden.
Keep reading Herzindagi for more such stories.
Credits: Freepik
Take charge of your wellness journey—download the HerZindagi app for daily updates on fitness, beauty, and a healthy lifestyle!
Comments
All Comments (0)
Join the conversation