Wed Apr 1, 2026 | Updated 05:56 PM IST HZ Awards 2026

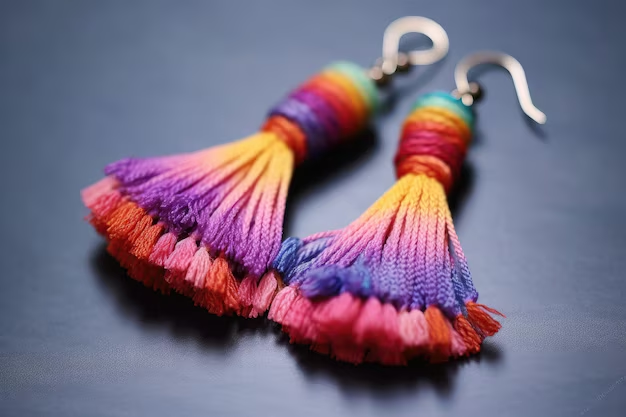
If you have a knack for environment-friendly accessories and love to create your own styling products at home, then this article is for you! Any outfit is incomplete without the right earrings. If you are looking for a unique design other than the usual ones available in the market, then these thread earrings are a must-try. Here’s a simple yet fun process of making thread earrings at home.
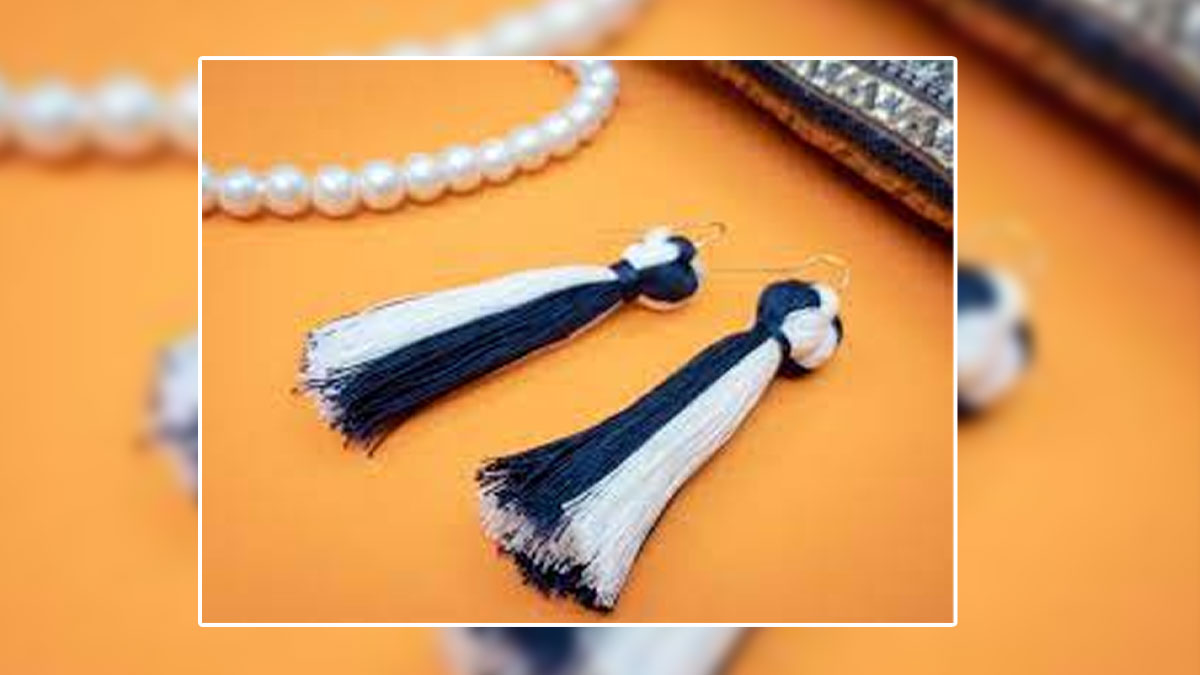
Step 1: Start by wrapping the first thread colour around your hand or fingers until it's as thick as you want. Then, slide it off your hand, keeping the loops together. Pinch the threads and cut one end. Repeat this process to create two bundles of the first colour. Then, do the same with a second thread colour. You should now have four folded bundles of thread, two in each colour.
Step 2: Put the first navy thread bundle on your surface vertically with the folded end at the bottom. Take the first white bundle and pass the folded end under the right side of the navy bundle, then over the left side. Next, take the second navy bundle and pass it through the loop of the white bundle. Take the second white bundle and pass it over the two navy bundles. Pass all the ends through the loop of the second navy bundle. You should now have the desired arrangement.
Step 3: Hold the four thread bundles in both hands and gently pull them to create a square pattern. Now, you'll be working your way around the threads in a clockwise direction. Start by folding the first navy bundle over the next white one. Then, take that white bundle and fold it over the navy bundle you just moved and the next navy one. Continue folding the bundles over each other, moving clockwise. Pull all four sides tight to create a small square pattern.
Don't Miss: DIY: Decorate Your Home And Make It Even More Appealing With These DIY Projects
Step 4: Take the four thread groups and smooth them out so they're hanging down evenly. Cut a piece of thread, make a loop, and then pass the two main thread ends through the loop. This will create a slipknot. Slide the woven part of your earring through the loop and pull the knot tight. Wrap the thread around a few times to secure it, then tie a knot. Tuck the thread ends down to blend in with the rest of the tassel.
Don't Miss: 5 Fresh DIY Home Decor Trends To Try
Step 5: Cut your tassel to the length you like and repeat the same for the other one. Attach earwires to the top of each tassel and your new handmade earrings are ready!
For more such stories, stay tuned to HerZindagi.
Image Courtesy: Freepik
Also watch this video
Herzindagi video
Our aim is to provide accurate, safe and expert verified information through our articles and social media handles. The remedies, advice and tips mentioned here are for general information only. Please consult your expert before trying any kind of health, beauty, life hacks or astrology related tips. For any feedback or complaint, contact us at [email protected].