Sun Feb 15, 2026 | Updated 04:07 PM IST
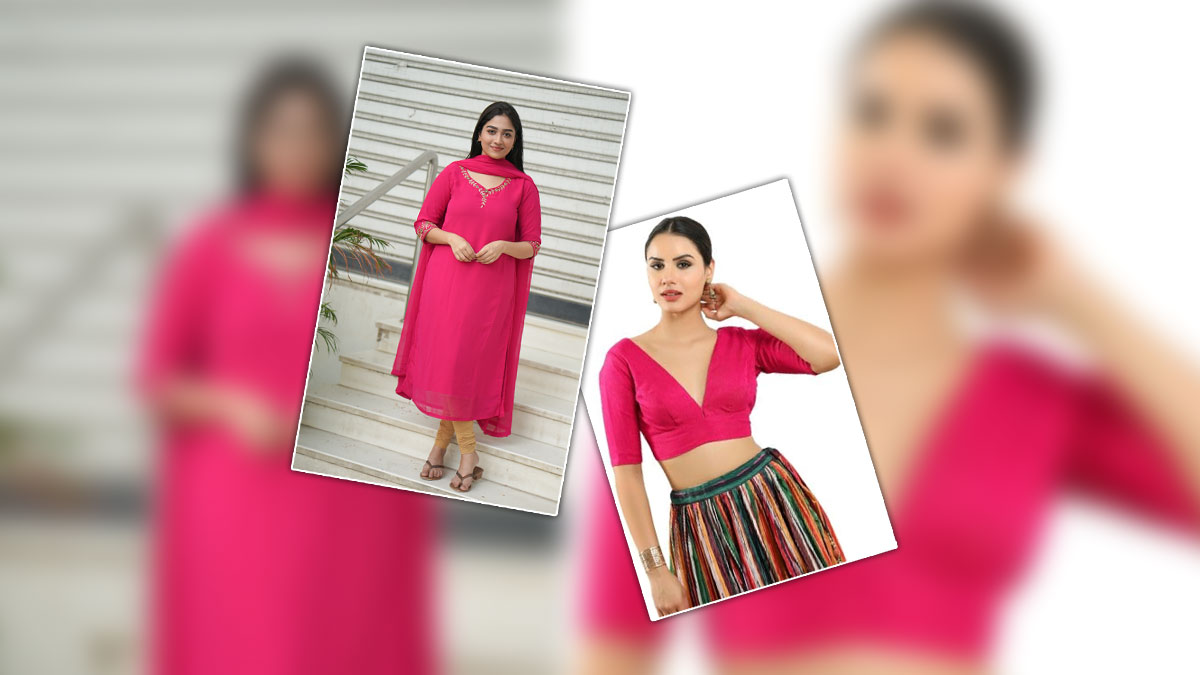
The growing saree craze seems to be never-ending! Suits are relacing casuals and now sarees are replacing suits on every festive occasion. If you are someone who has recently made a switch from kurtis to sarees and is wondering what to do with your old kurtis lying around, then this article is for you! Bring your old Kurti to good use by converting it into a designer blouse that you can pair with your saree. Here’s a simple procedure on how to do it in 4 simple steps.
You’ll need the following things to make a blue:
Step 1: To create a blouse, start by selecting a kurti to upcycle. When choosing a kurti, opt for a simple fabric to ensure a clean finish on the blouse. A simple blouse will also be versatile and easy to pair with various sarees. If you're using a designer kurti, consider its design elements. Additionally, decide on the style of blouse you want to create before beginning the project.

Don't Miss: How To Convert Old Saree Into Long Skirt: A Step-By-Step Guide
Step 2: Once you've selected the kurti, mark the pattern for your blouse. You can use an old blouse as a reference to make the marking process easier. This method allows you to simply cut the lower portion of the kurti and focus on fitting the sleeves and neck. If the kurti is your size, mark it to shorten the length. If it's a bit long, turn it upside down and mark the desired length according to your blouse pattern.
Step 3: With your markings in place, you can now start cutting the kurti. Remember to leave a small margin (about 1-2 inches) from your markings to allow for any adjustments during fitting. This will prevent the fabric from falling short if the markings aren't exact. The cutting technique will also vary depending on the type of blouse you're creating. For a simple blouse, a straight cut at the marked length is sufficient. However, for more complex designs, you may need to make additional cuts or adjustments.
Don't Miss: 3 Ways To Convert Your Old Saree Into Stunning Home Decor Pieces

Step 4: With all the cutting and marking complete, it's time to sew your blouse. Begin by separating the individual pieces. If your design includes a chain or any embellishments, attach them first. Then, sew the bottom edges of the blouse using a sewing machine. However, for a more polished finish, consider hand-stitching the hem. This will add a touch of elegance to your blouse. Once complete, your stylish blouse is ready to wear! To give it an extra touch of beauty, you can also add vines or other decorative elements.
Credits: YouTube
Herzindagi.com is Jagran New Media's gender and lifestyle vertical, catering to women of all age groups, helping them remain updated, on-trend and aware. To improve our performance and understand our readers' interests better, we have created this poll. This will take 2 minutes of your time, do help us out. Click here to fill out the form.
Also watch this video
Herzindagi video
Our aim is to provide accurate, safe and expert verified information through our articles and social media handles. The remedies, advice and tips mentioned here are for general information only. Please consult your expert before trying any kind of health, beauty, life hacks or astrology related tips. For any feedback or complaint, contact us at [email protected].