Wed Apr 1, 2026 | Updated 05:33 PM IST HZ Awards 2026
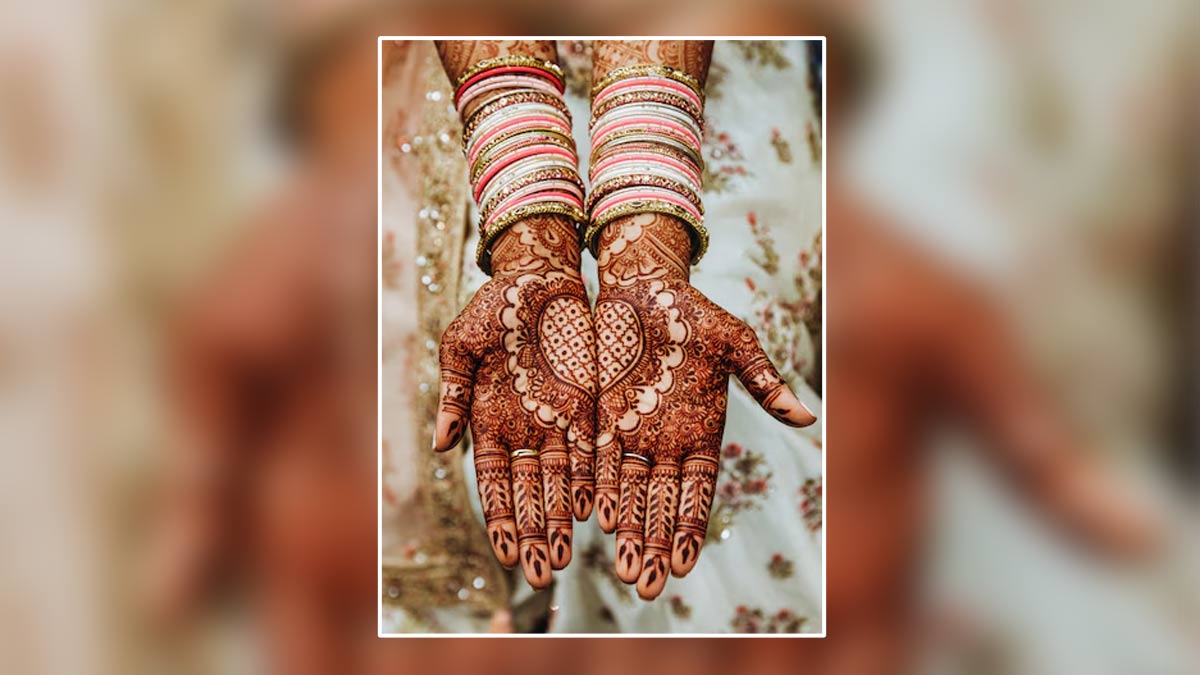
Mehndi is an essential part of Indian festivities. Mehndi, also known as henna, is a beautiful form of body art that has been practised for centuries in various cultures around the world. It involves applying intricate designs using henna paste, which leaves a temporary stain on the skin. If you're new to applying mehndi and want to create stunning designs, here are some simple easy tips and tricks to get you started:

Use fresh henna paste for the best results. Avoid cones that have been sitting around for too long as the dye potency diminishes over time. Ensure the henna paste has a smooth consistency that is neither too thick nor too runny. It should be easy to squeeze out of the cone but hold its shape when applied.
Wash the area where you want to apply mehndi to remove any dirt, oil, or lotion. Dry it thoroughly to ensure the henna adheres well to the skin. If possible, exfoliate the skin gently to remove dead cells. Smooth skin allows for better henna application and longevity of the design.
Begin with basic shapes like dots, lines, and simple floral motifs. Practice on paper or on your own skin to get comfortable with the flow of the henna cone. Gradually move on to more intricate designs as you gain confidence. Don't rush - mehndi application requires patience and steady hands. Watch tutorials on YouTube or attend workshops to learn new techniques and styles from experienced henna artists.
Use templates or stencils to create outlines for your mehndi designs. They can help you maintain symmetry and proportion, especially if you're new to freehand drawing.
Making your own mehndi cone allows you to control the consistency of the paste and the size of the opening. Use a small plastic sheet to form a cone, secure it with tape, and cut a tiny opening at the tip. A smaller opening provides finer lines, essential for intricate designs.
Allow the henna paste to dry completely on your skin before touching anything. This usually takes around 1-2 hours depending on the climate and thickness of the paste. Once the henna paste is dry, you can apply a sugar and lemon juice mixture over the design to help seal it and intensify the colour.
Don't miss: Chand Mehndi Designs To Illuminate Your Festive Season
Avoid washing the hennaed area with water for at least 12 hours after application. This allows the stain to deepen and last longer. Apply a thin layer of olive oil or coconut oil over the dried henna to protect it from fading too quickly.
Don't miss: Mandala Mehndi Designs To Beautify Your Hands

Like any art form, regular practice will improve your skills and help you develop your own unique style of mehndi application. And achieving perfect mehndi designs requires patience and practice. Start with simple designs and gradually experiment with more intricate patterns. Over time, your confidence and skill will grow, resulting in beautiful, professional-looking mehndi art.
For more such stories, stay tuned to HerZindagi.
Image credit: Freepik
Our aim is to provide accurate, safe and expert verified information through our articles and social media handles. The remedies, advice and tips mentioned here are for general information only. Please consult your expert before trying any kind of health, beauty, life hacks or astrology related tips. For any feedback or complaint, contact us at [email protected].